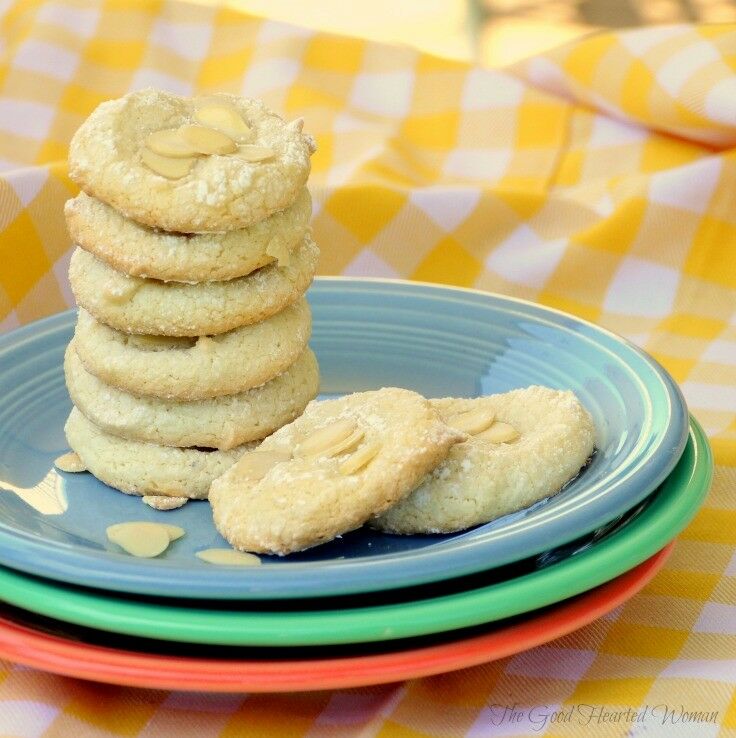
Less sugar and four kinds of almond flavoring make for a deliciously chewy, gluten-free, yolk-free almond cookie that is bursting with flavor.

Recently, I went on a girls-only getaway to Detroit Lake, and you know where there is a weekend gathering of women, there is likely to be a whole lot of food. Our friend Beth brought these amazing almond cookies, and after the first bite, I was begging for the recipe. As best as I can figure out, Beth’s recipe is based on King Arthur Flour’s Almond Cloud Cookies recipe; however, her version cuts the sugar in half, resulting in a subtly sweet cookie with a strong almond punch.
These cookies aren’t flashy – they don’t need to be, because they are Amazingly Delicious. In fact, after sampling my first batch, Mr. B told me they were the best cookies I’ve ever made (which is saying something, because I’ve made some pretty good cookies in the past). Enjoy!
(Half the sugar means you can eat twice as many, right?)

- 10 ounces almond paste*
- ½ cup sugar
- ¼ teaspoon salt
- 2 large egg whites, lightly beaten
- ¼ teaspoon almond extract
- ⅛ teaspoon extra-strong bitter almond oil
- Confectioners' sugar
- Sliced almonds
- Preheat oven to 325° F. Line baking pan with parchment paper.
- In a stand mixer or food processor, blend the almond paste, sugar, and salt until crumbly.
- In a separate bowl, beat egg whites until very frothy. (Don’t beat long enough to form peaks.)
- Gradually add almond extract, bitter almond oil, and beaten egg whites to the almond paste mixture.

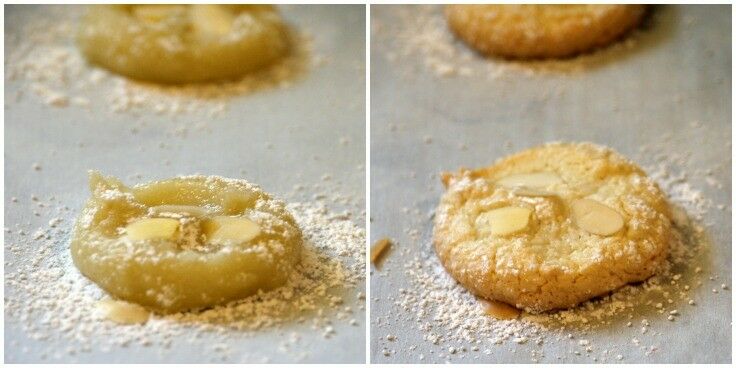
- Using a small scoop, form cookies and place on prepared baking sheet.

- Sprinkle cookies lightly with confectioners' sugar and sliced almonds.
- Using three fingers, press indentations into the center of each cookie. (This keeps them from puffing up too much during baking.)
- Bake for 20 - 25 minutes, until the very edges are just turning golden. Remove from oven and allow to cool.


*Almond paste can be found in most grocery stores; usually in the baking section near the pie fillings. You can also purchase it online at Amazon. [← affilitate link] You can also make it at home, but I haven’t done that yet. (I’m hoping to run a post this holiday season after I perfect the process.)
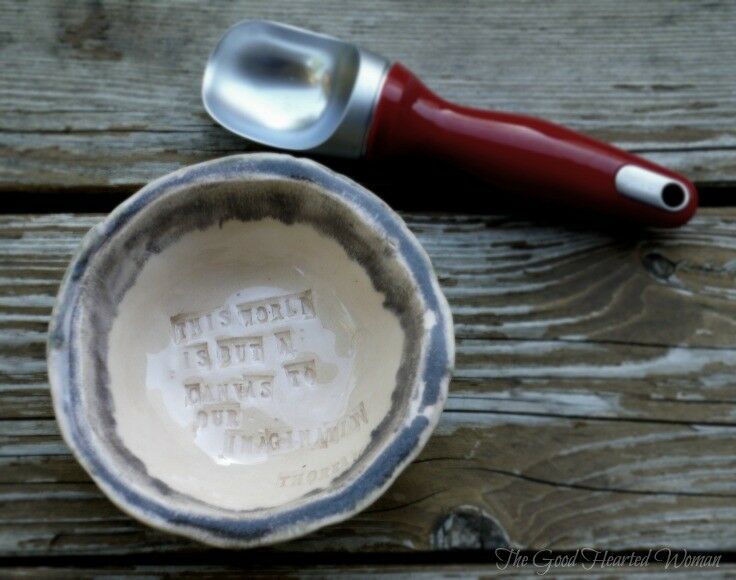
The post Amaretti ~ Italian Macaron Cookies {Recipe} appeared first on The Good Hearted Woman.


![Delightfully sweet with a delicate crisp bite, Banana Lumpia [Filipino Turon] is one of the easiest desserts you will ever make. | The Good Hearted Woman](http://thegoodheartedwoman.com/wp-content/uploads/2015/09/BL-GHW-3.jpg)


![Delightfully sweet with a delicate crisp bite, Banana Lumpia [Filipino Turon] is one of the easiest desserts you will ever make. | The Good Hearted Woman](http://thegoodheartedwoman.com/wp-content/uploads/2015/09/BL-GHW-7.jpg)


![Delightfully sweet with a delicate crisp bite, Banana Lumpia [Filipino Turon] is one of the easiest desserts you will ever make.| The Good Hearted Woman](http://thegoodheartedwoman.com/wp-content/uploads/2015/09/BL-GHW-6.jpg)